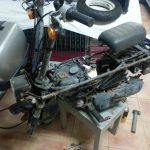
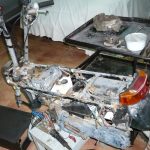
After moving forward with the disassembly and general assessment of the Motocompo, it was time to focus on a small but very important part of the bike: the wheels. On such a compact motorcycle, every detail matters, both for safety and for the final appearance.
Initial condition of the wheels
The wheels still had the original tyres fitted, a set of Bridgestone Molas, with many cracks and clear signs of age. The paint on the rims was in very poor condition, with marks and areas of surface rust, especially around the edges and hubs.
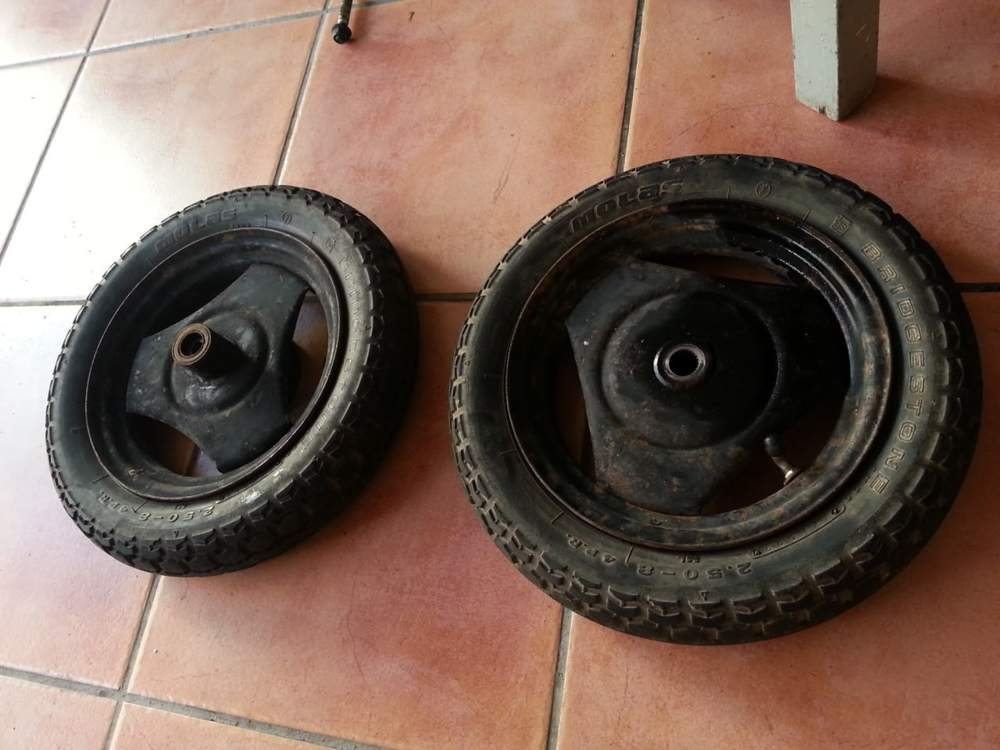
At first glance, this was not just a cosmetic issue. At this point it made sense to take everything apart, properly inspect the tyres and replace the inner tubes before the bike goes back on the road.
Disassembly and inspection
The first step was to separate the tyres from the rims and inspect each part individually. Once removed, the real condition was much easier to see: old dirt, worn edges and inner tubes that were no longer worth reusing.
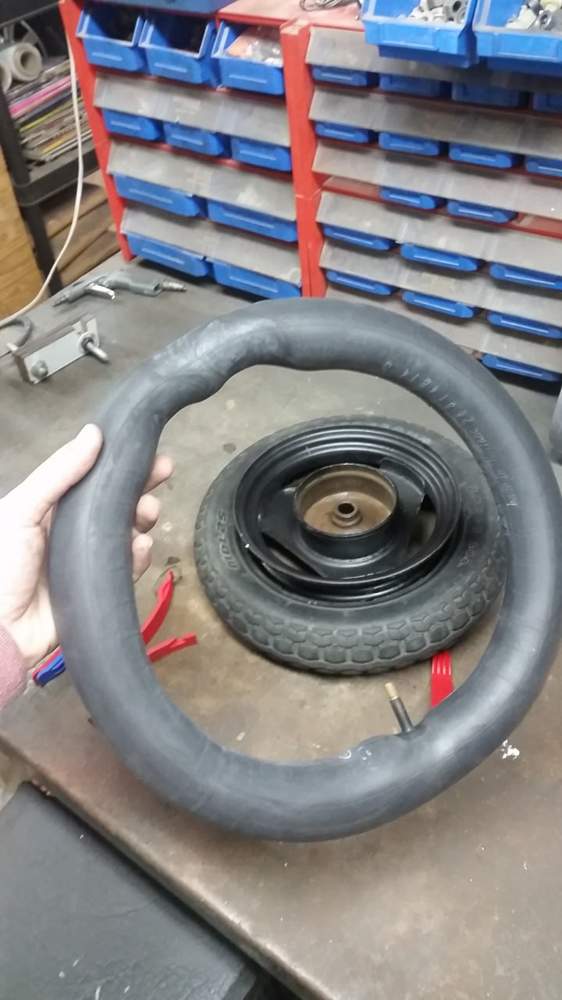
On a restoration like this, I prefer not to take chances with old rubber parts. Even if an inner tube still holds air, age can make it unreliable, and a small leak or failure could ruin the final assembly.
Painting the rims
With the wheels stripped down, the rims were cleaned and prepared for paint. The goal was to bring back a clean, uniform look while keeping the original black finish of the Motocompo. I used Montana 94 matte black spray paint.
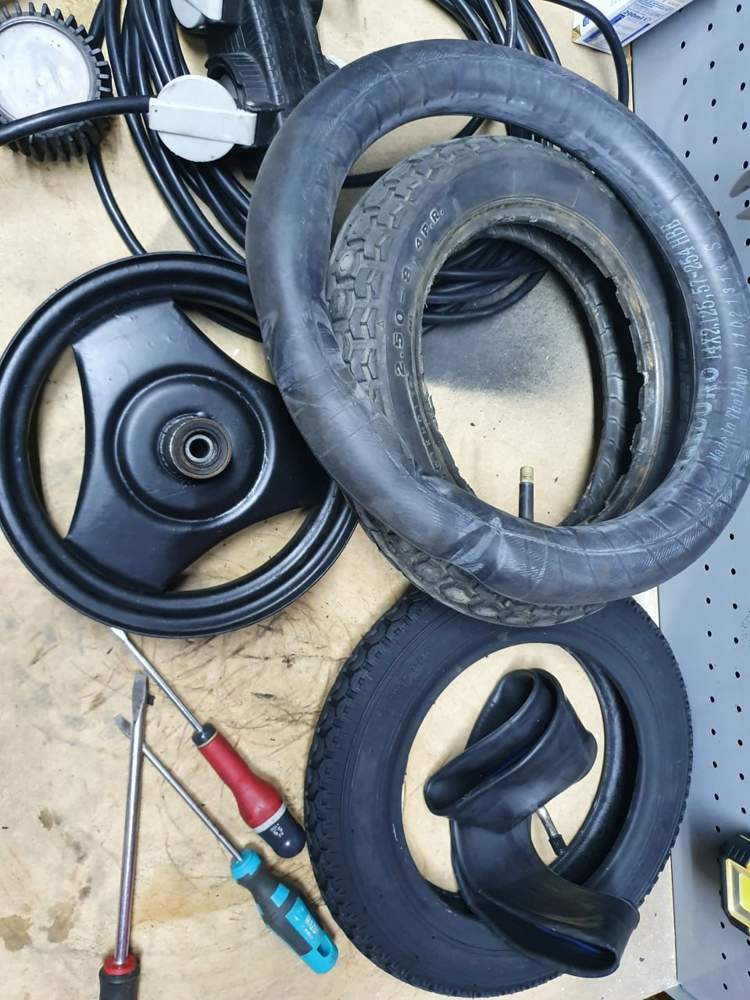
Once painted, the difference is clear. The rims go from looking tired and rusty to having a much cleaner appearance. They are not large parts, but on a small bike like this, well-finished wheels make a big difference to the overall look.
New inner tubes and tyres
The inner tubes were also replaced and new tyres were fitted. Since I could not find original Bridgestone replacements, and the IRC semislick tyres were very expensive, I bought a generic set in the original 2.50-8 size.
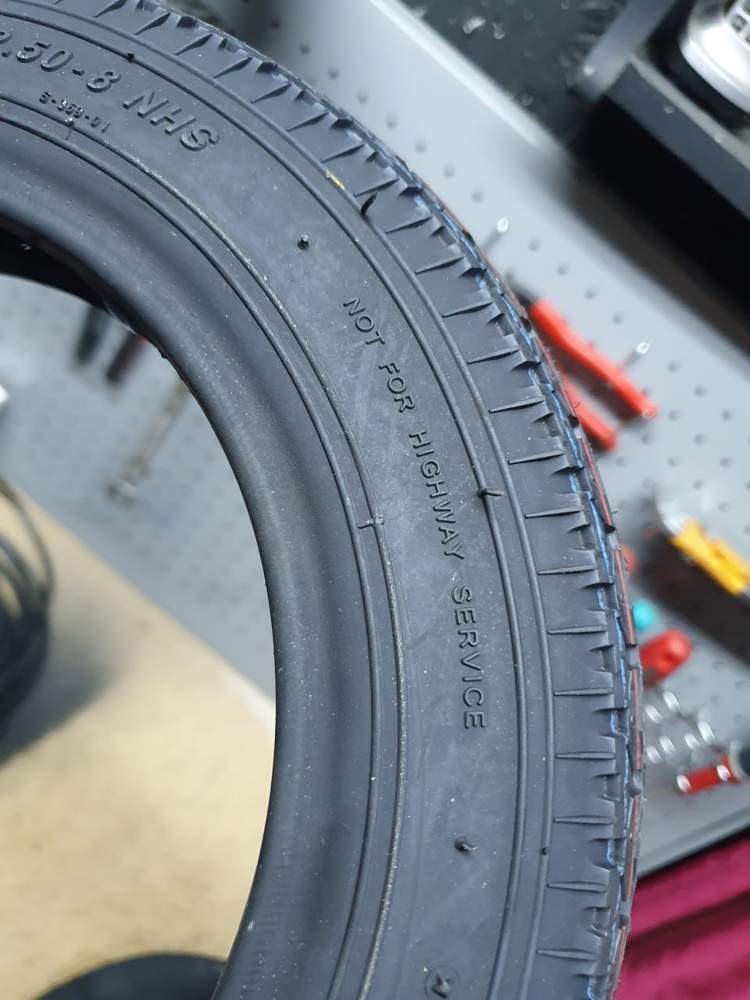
The tyres are marked with the phrase “Not for highway service”. A shame, because with the Motocompo’s 30 km/h top speed I was already thinking about taking it on the motorway… We will leave it as an optimistic warning from the manufacturer. For this project, the important thing was to fit a new, safe set that still looks faithful to the original style of the Motocompo.
Final result
With the rims painted, new inner tubes fitted and the tyres mounted, the whole assembly changes completely. The wheels now look clean and solid, and a key part of the restoration is ready.
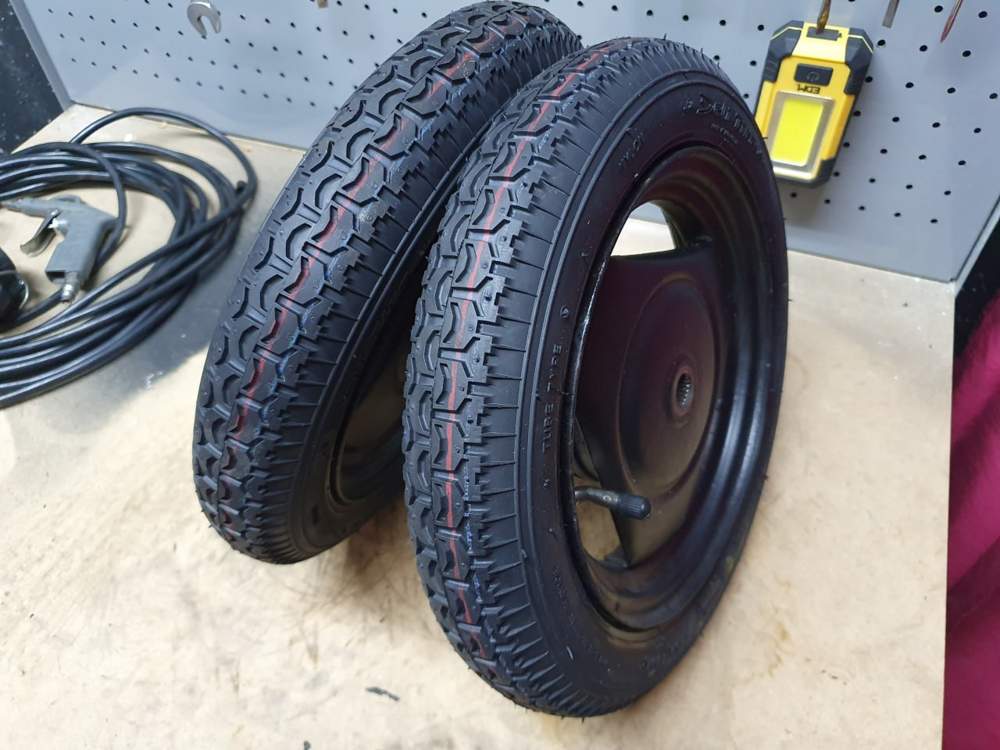
Little by little, the Motocompo is starting to look less like a disassembled project and more like a bike again, starting with the wheels.
Next step
With the wheels restored, the next goal will be to keep disassembling each part that is in poor condition, restore it and make sure everything is in good shape.